Unlocking DJI Geofencing
NOTICE: As of Jan 13, 2025, DJI Geofencing is no longer applicable. Please ensure you are running the latest firmware on your device. Always remember to check the FAA database for your area of flight before mission planning. It is still your responsibility as a Part 107 pilot to obtain the proper FAA authorization if planning to fly in controlled airspace.
What is dji Geofencing?
DJI geofencing is a system built in to every DJI drone that blocks flight in certain areas until you bear full responsibility for said flight. The purpose of geofencing is to mitigate risks involved with people flying in areas that could compromise safety, unknowingly.
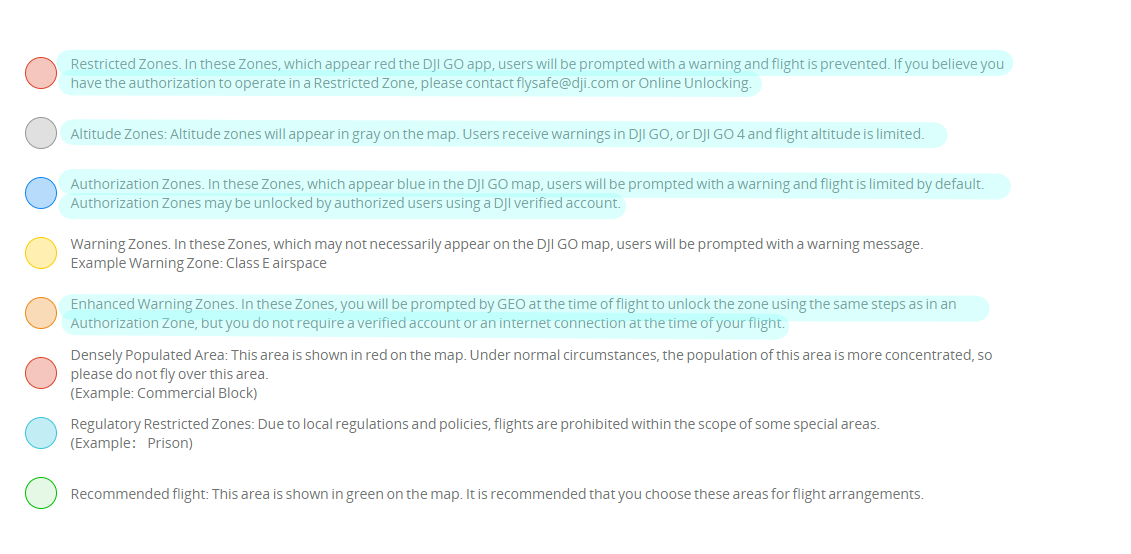
DJI has several tiers of geofencing, they are listed below. However, of most relevance will be Enhanced Warning Zones, Authorization Zones, Restricted Zones, and Altitude Zones (highlighted)
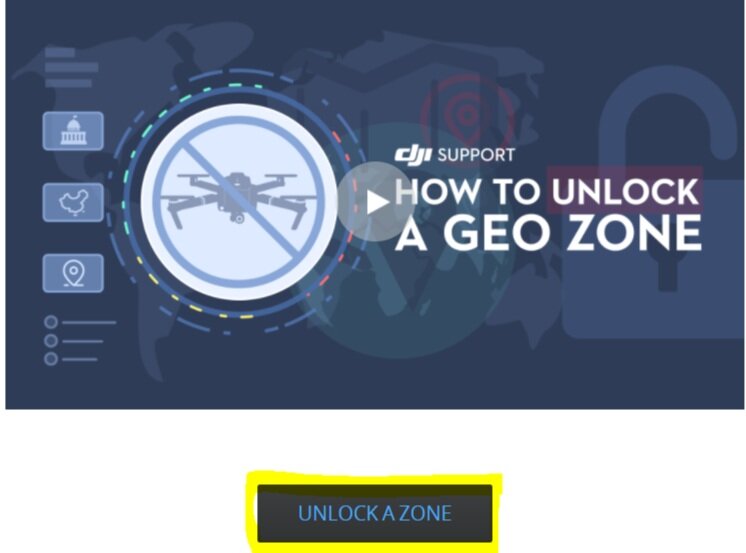
For an overview of how to unlock DJI’s geo zones, watch the video below. For a more in-depth step-by-step guide, read on!
How do i know if my flight is within a geofenced area?
Go to https://www.dji.com/flysafe/geo-map and type in the location or address of your site in question.
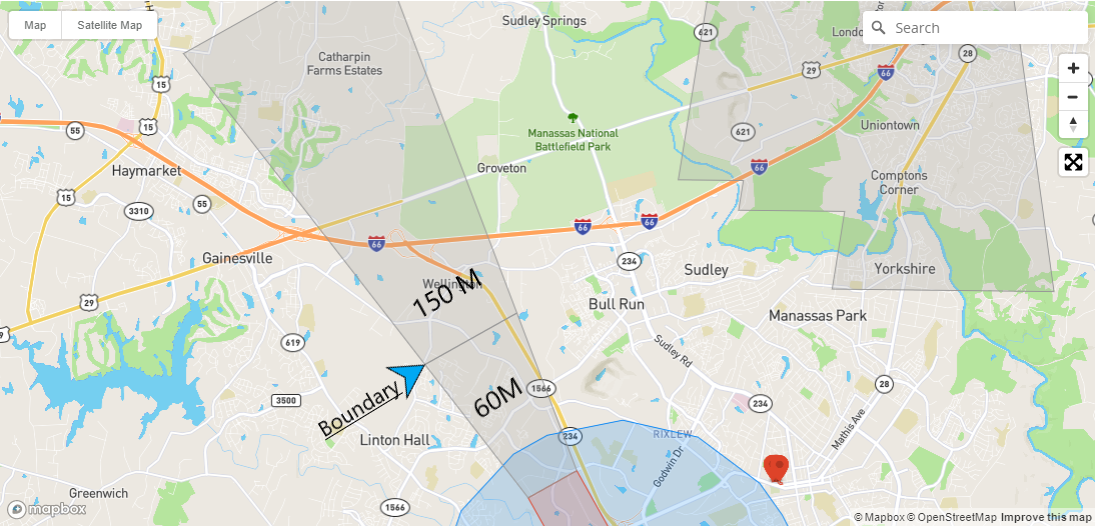
If your location is overlaid by a blue, red or orange opacity, there are some additional steps you need to take. If there is a gray opacity overlay, your flight altitude will be limited to the posted height in meters.
What is an altitude zone?
Altitude zones are depicted in gray and typically extend outward from approach and landing paths of runways at busier airports. These zones limit the height at which your drone can fly and are typically found with either a 60m height restriction closer to the runways and a 150m flight restriction further away.
These zones CANNOT be unlocked, so if you have a project in these areas, plan to fly below the posted limits.
** it is important to note that when flying near the boundary of the 60m and 120m altitude zones, the exact boundary is not always perfect, plan to fly at 60m or below when flying within 1/4 mile of these boundaries.
How do i unlock an enhanced warning zone?
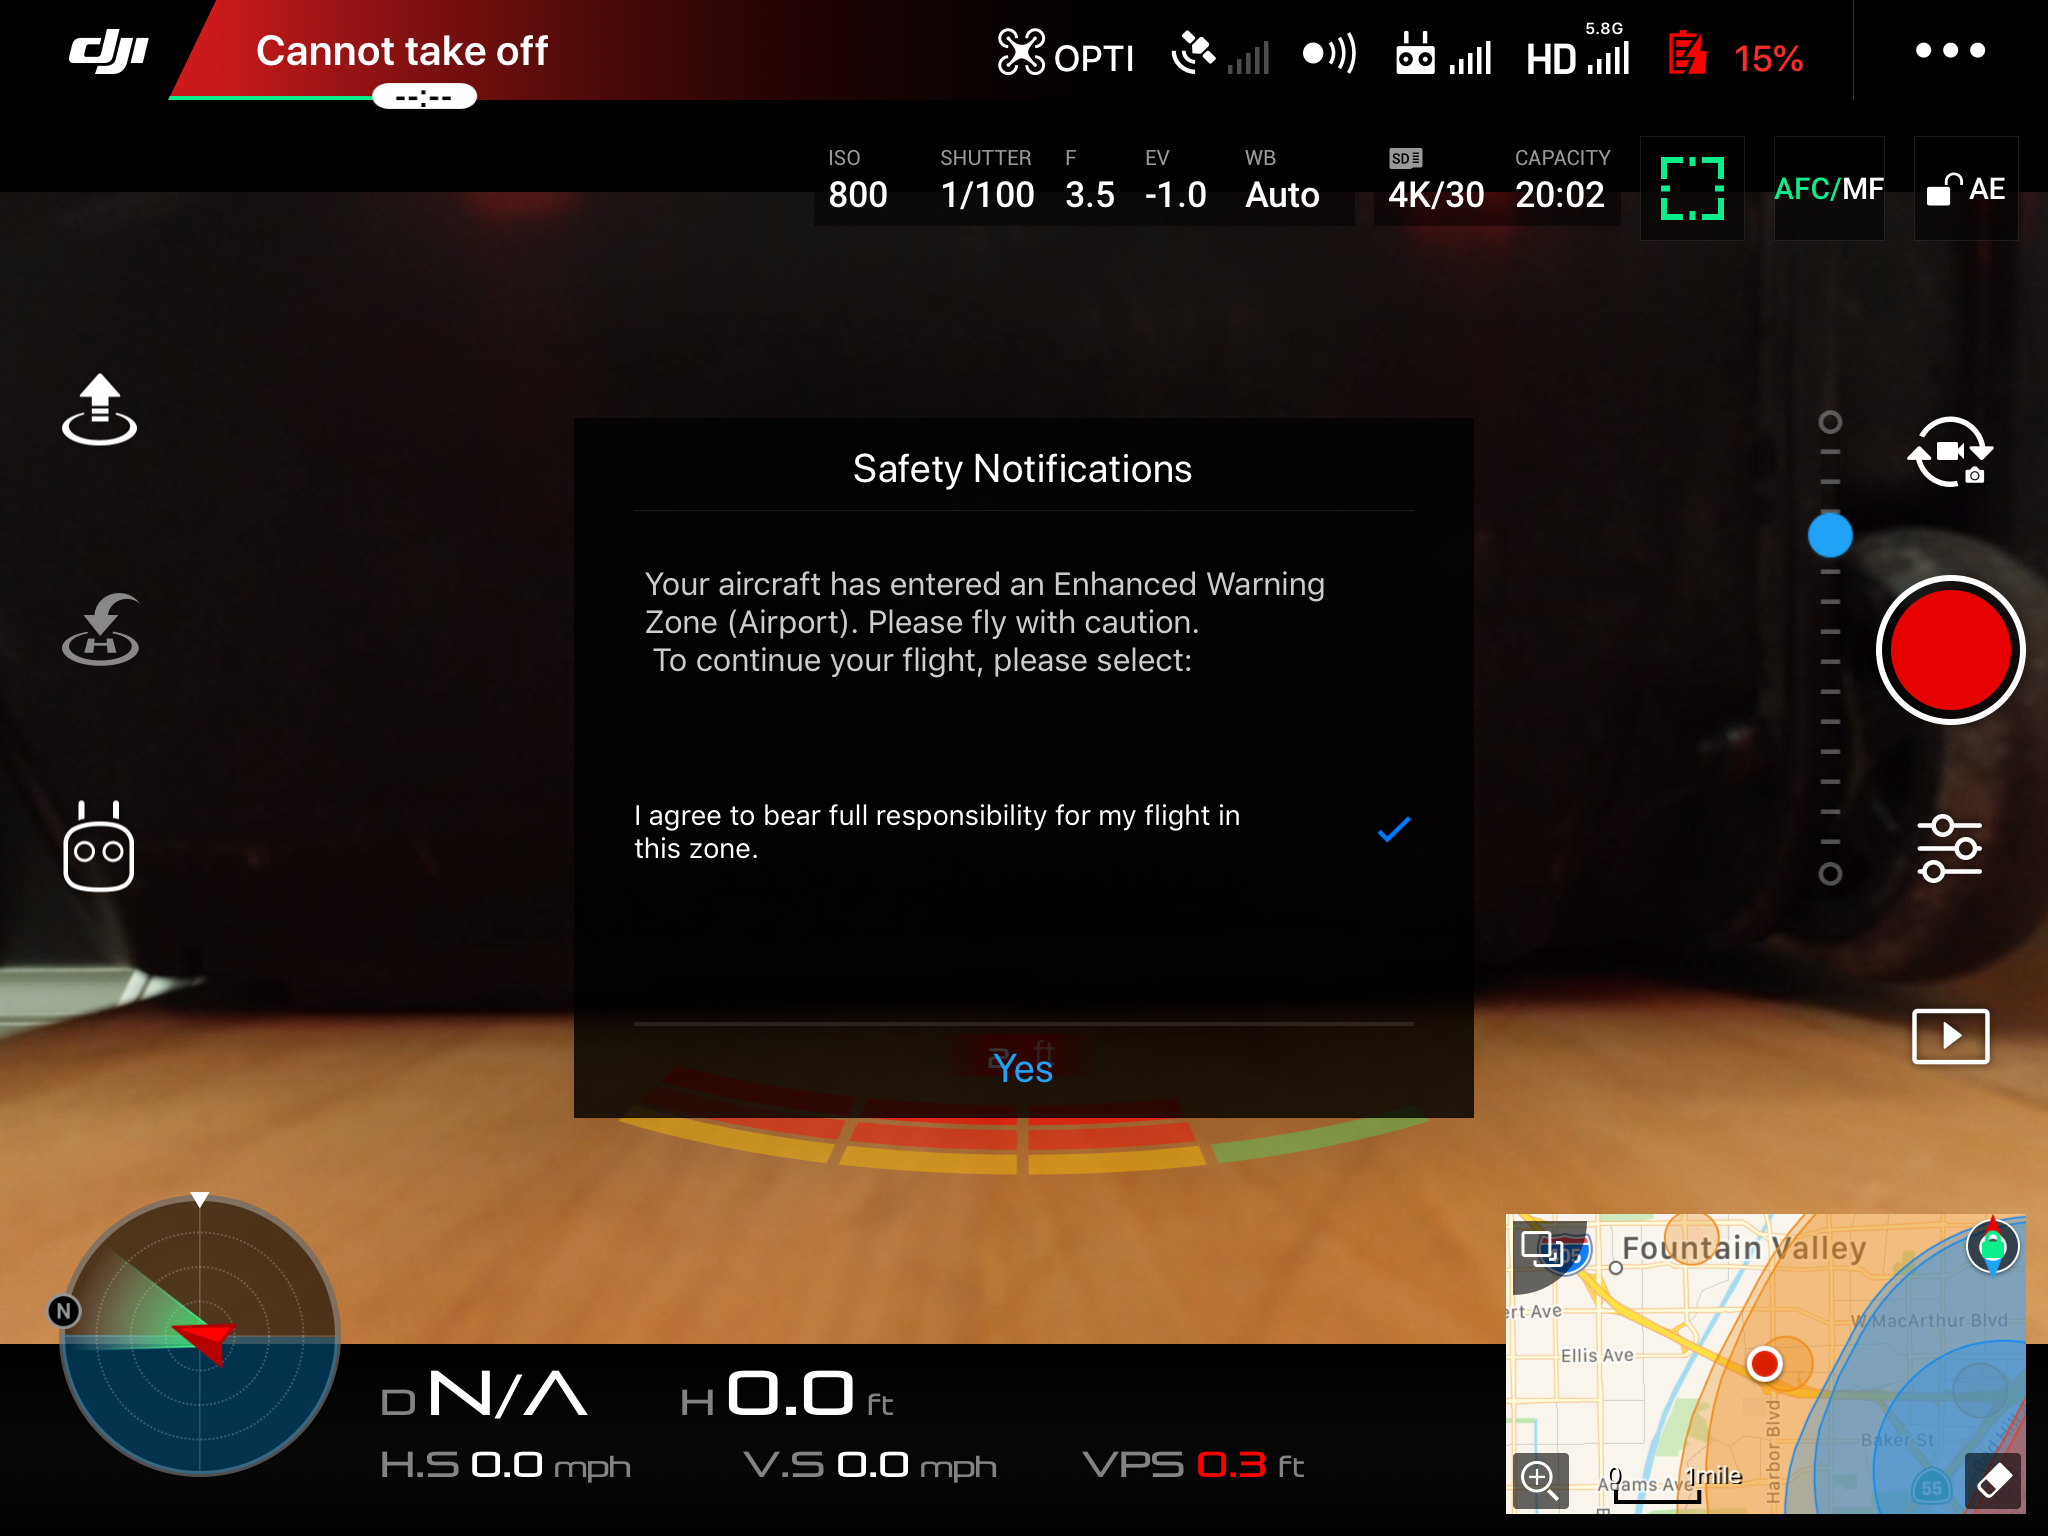
Enhanced warning zones are the easiest of the 3 to unlock, and simply requires you to agree to bear responsibility. An example of an enhanced warning zone notification is pictured below.
Authorization zone unlocking
Authorization zones should be able to be unlocked directly through the DJI apps.
When you try to take off in an authorization zone (physically try to start your motors when the app says “Cannot Take Off”), you should see a pop-up that will ask you if you’d like to unlock the zone. Once you agree to bear responsibility via the checkboxes, you will be asked for a verification code via phone number. Once you enter the verification code the zone should unlock for you.
In order to take advantage of this new feature, you’ll have to make sure you have the following updated to the latest versions:
(You can check these in the “about” section of the general settings menu in your DJI app)
Aircraft/controller Firmware
App
DJI Geozone database
How do i Setup and use Dji’s Geozone Unlocking Dashboard?
When you go to dji.com/flysafe, scroll down and click the “unlock a zone” button.
You will then be prompted to log in again. After doing so, you should see a new dashboard similar to below.
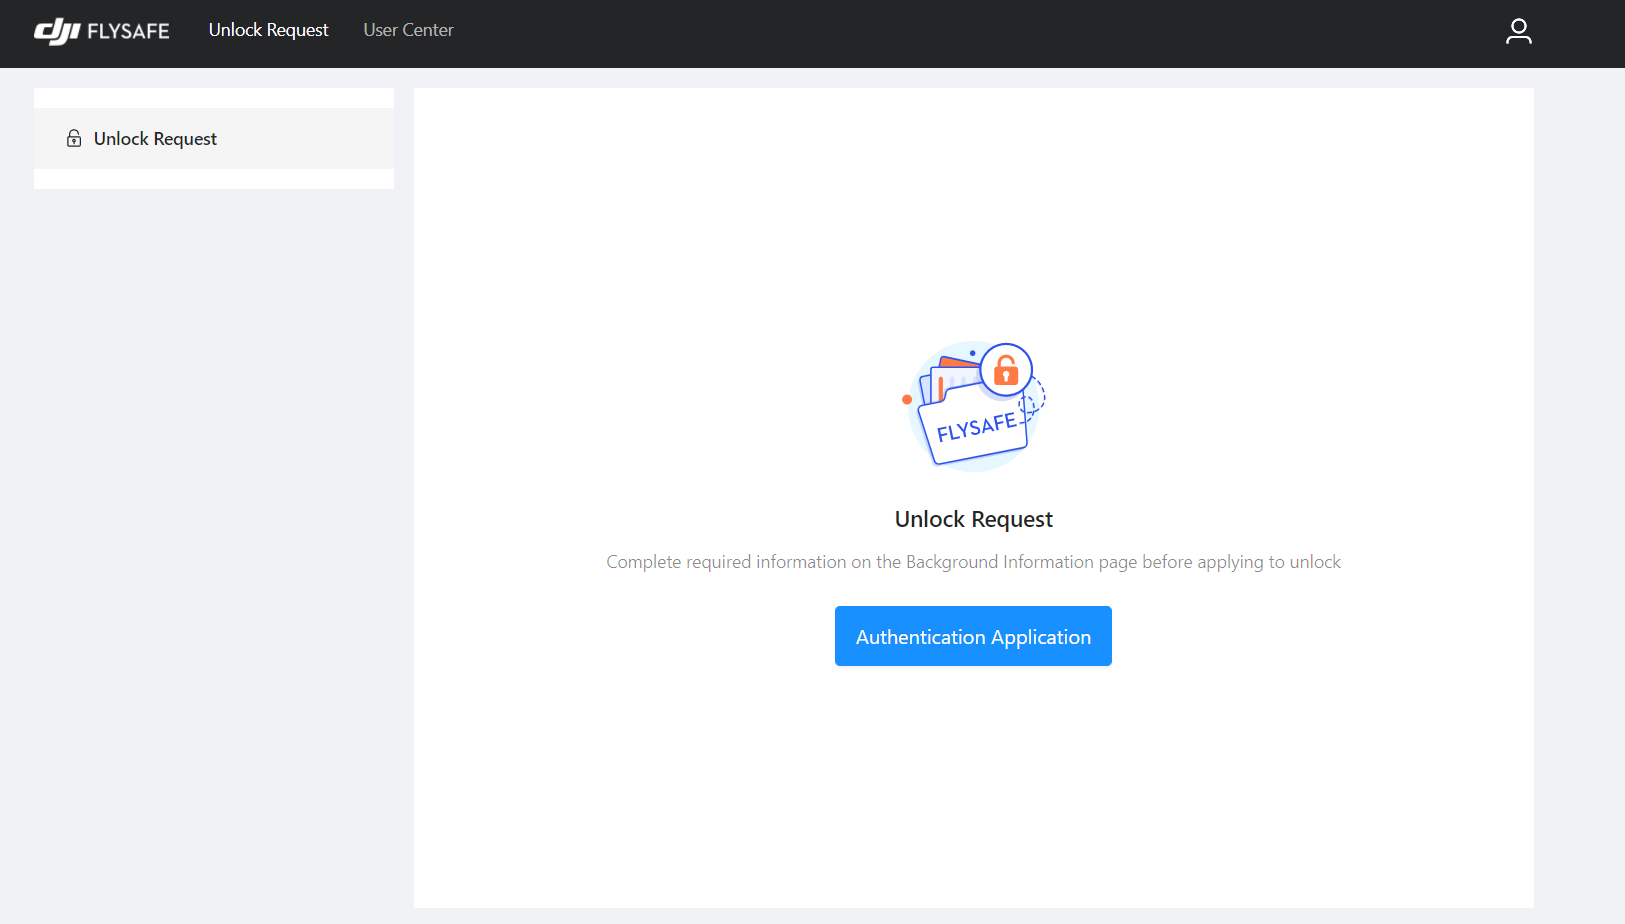
Next, click on “unlock request” on the top bar. If this is your first time using this system, you will be routed to a screen to complete an authentication application (shown below). Click on “authentication application” If you have already set up your account and devices, you can skip to the “New Unlock Request” steps further below.
Next, you will see a screen that asks what type of user account you want to apply for (below). You can choose between Personal, Enterprise, and Government account types. You can see the difference between them in the descriptions in the picture below.
In short:
Government accounts require official documentation/identification to set up
Enterprise accounts require official application on company letterhead to set up
Person accounts are the simplest and require basic information such as name, email, and phone number to get started
For our purposes, we will show you how to set up a personal account. If you would like guidance while applying for Enterprise or Government accounts, please contact flighops@aerotas.com
After you’ve selected your account type, fill out the form shown below (we are using a personal account. Govt. and enterprise forms are slightly longer) then click “submit”.
You will then be prompted to verify your email address, and phone number in two separate steps.
Below you can see the step for “email” although the verify windows are essentially identical for both.
The first thing you should do is click “send”. This will send a verification code to your email (these codes may take a minute or more to appear, have patience, flooding the system with codes will cause this form to error out on you).
Enter the code once it comes in and click the “confirm” button.
Repeat the same basic verification flow for your phone number. Be sure the phone number you are using can receive a text message.
Once everything is verified, you should be routed back to your dashboard view.
Before unlocking a zone, it is helpful to add your aircraft and pilot information to your profile.
Click on “Device Management” (shown below) and click, “New Device”
The form below should then pop up
Fill out the form shown above. If you know how to find your Flight Controller SN you can skip to the next step. The good news is you should only have to add your aircraft once, and it will automatically save itself to your profile for future unlock requests. Steps for locating the FCSN are as follows:
***Note: the flight controller serial number is NOT the same as the serial number of your drone, it is NOT displayed anywhere on the physical aircraft or controller, it can only be accessed through the iPad/controller display***
Pro tip - DJI serial numbers do not contain the letter “O”, instead, they use zeros. DJI does not throw errors if you input your FCSN incorrectly. Instead, it will just not work. Be sure to double-check your FCSN prior to submission.
locating flight controller serial number using gsrtk (for p4rtk users)
First, turn on and connect your aircraft and controller
From the home screen, tap the three lines in the upper left-hand corner of the screen
Next, tap on the drone icon on the left sidebar
Now tap the larger tile to the right that shows the drone
Within this menu, the “flight controller serial number” will be displayed
locating flight controller serial number using dji go 4 or DJI Pilot 2 (P4P, M3E, M300)
First, turn on and connect your drone, controller, and tablet.
In the DJI Go 4 app, “enter device” and tap the 3 dots in the upper right-hand corner of the screen, and from the drop down menu, select the far bottom left option of 3 dots (General Settings Menu).
Next, scroll down and tap “about”
Within this menu, the “flight controller serial number” will be displayed.
Next, on the far left of your screen, click “Pilot Management” and then click “New Pilot” (shown below)
Then, fill out the form below with the email address associated with the DJI account that the pilot uses (this can be the same as as the current DJI account being used)
Once you have completed the pilot and device setup, you will not have to do this again when using this account for unlocking.
Now, you can finally click “Unlock Request” on the top toolbar. The following display will appear.
Click on “New Unlock Request” and the following image should pop up. We will run through the procedures for both options.
**Please note that both unlocking options may fail upon submission. If you encounter a failure upon submission, it may be a browser issue. DJI recommends using a different browser or clearing your cache if you run into this issue.
The two options are fairly well explained above, but in short:
“Zone Unlocking” aims to unlock an entire zone by clicking on the zone
This is most similar to “self unlocking” in the old system
“Custom Unlocking” unlocks a specified custom area that you will define in the application
This is the same basic functioning and same naming convention as the old systems “custom unlocking”. You can use this to unlock restricted zones as well as authorization zones.
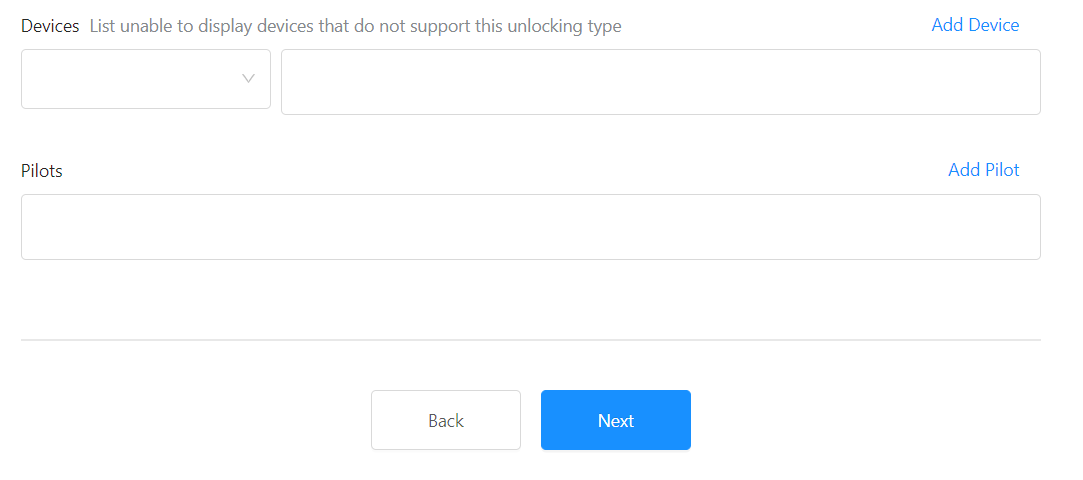
Regardless of which unlocking type option you select you will be asked to fill out the following form, which should give you the option to populate each field with your previously submitted device and pilot information with a click of the dropdown menus.
Once you click next, one of the following application forms will appear for their respective options.
Zone Unlocking
Use the map to hone in on the zone you wish to unlock.
Click on the zone to add it to your unlocking request.
The zone will pop up as a bubble at the bottom of the map (see below).
Select your date, and provide a short explanation for your unlock in the field below.
Click “submit”
“Zone Unlocking” Form
Custom Unlocking
Use the map to hone in on your area of interest within the zone you are trying to unlock.
Use the Polygon, Circle, or Import tool to create your boundary for your custom unlock zone.
Select the maximum altitude at which you wish to fly, be sure to note that the units default to “meters”. You can change this to “feet” using the drop-down to the right of the field.
Provide a brief explanation of your unlocking request in the designated field.
Upload supporting documentation.
If you are flying within a restricted zone, you will need to submit the airspace authorization COA from the FAA or you will need official documentation from the controlling agency on agency letterhead as a .pdf to submit.
If you are unlocking an authorization zone, the requirements are less restrictive.
If you have questions on best practices for documentation, please reach out to flightops@aerotas.com
“Custom Unlocking” Form
Once you have submitted your respective form, you can review your current unlocking licenses and their statuses on the “Unlock Request” dashboard (shown below).
You can select your view to organize your applications that are either waiting for review, under review, accepted, or rejected. Or you can view them all at once.
You can also view the unlock request details by clicking “view” to the right of each request.
Once your unlock request is approved, the unlocking license will automatically be sent to your device
**Be sure you are logged into the same DJI account on your device as you are submitting the applications. If you are logged into a different DJI account on DJI Go 4 or GS-RTK, your unlock license will not find your controller/device.
Now you need to verify that your unlocking license is there in the DJI Go 4/GS-RTK app
Enter the aircraft view and tap the three dots in the upper right-hand corner to access the “General Settings” menu
With all devices on and connected still, scroll to the “unlocking license” tab
Now, in the “app” tab of this menu, you should see a code and a blue button that says “import to aircraft”, click that, and tab over to “aircraft” (if no button is there, try tapping “sync” at the bottom of the screen)
In the aircraft screen, you will need to tap the white slider to the right of the unlocking license. Once you do this you will be prompted to bear responsibility for your flight, and your drone will be able to take off within the zone you unlocked.
**Important note for “CUSTOM UNLOCK” licenses. When these licenses are toggled on, the aircraft will ONLY take off within the custom unlocked area. It is as if the unlock license bars the drone from flight anywhere except within the bounds of the unlocking license. To fly in other areas outside of your “custom unlock” zone, be sure to toggle your unlocking license “off” when you are not intending to fly within it.

